Setting Up a Team in Rize
Set up the workspace before you ask the team to trust the automation
A strong rollout starts with the admin workflow, not with asking everyone to track better. Create the workspace, define shared structure, connect the right tools, and explain the privacy model first. Then the day-to-day review habit becomes much easier.
Video: Setting Up Rize Workspaces
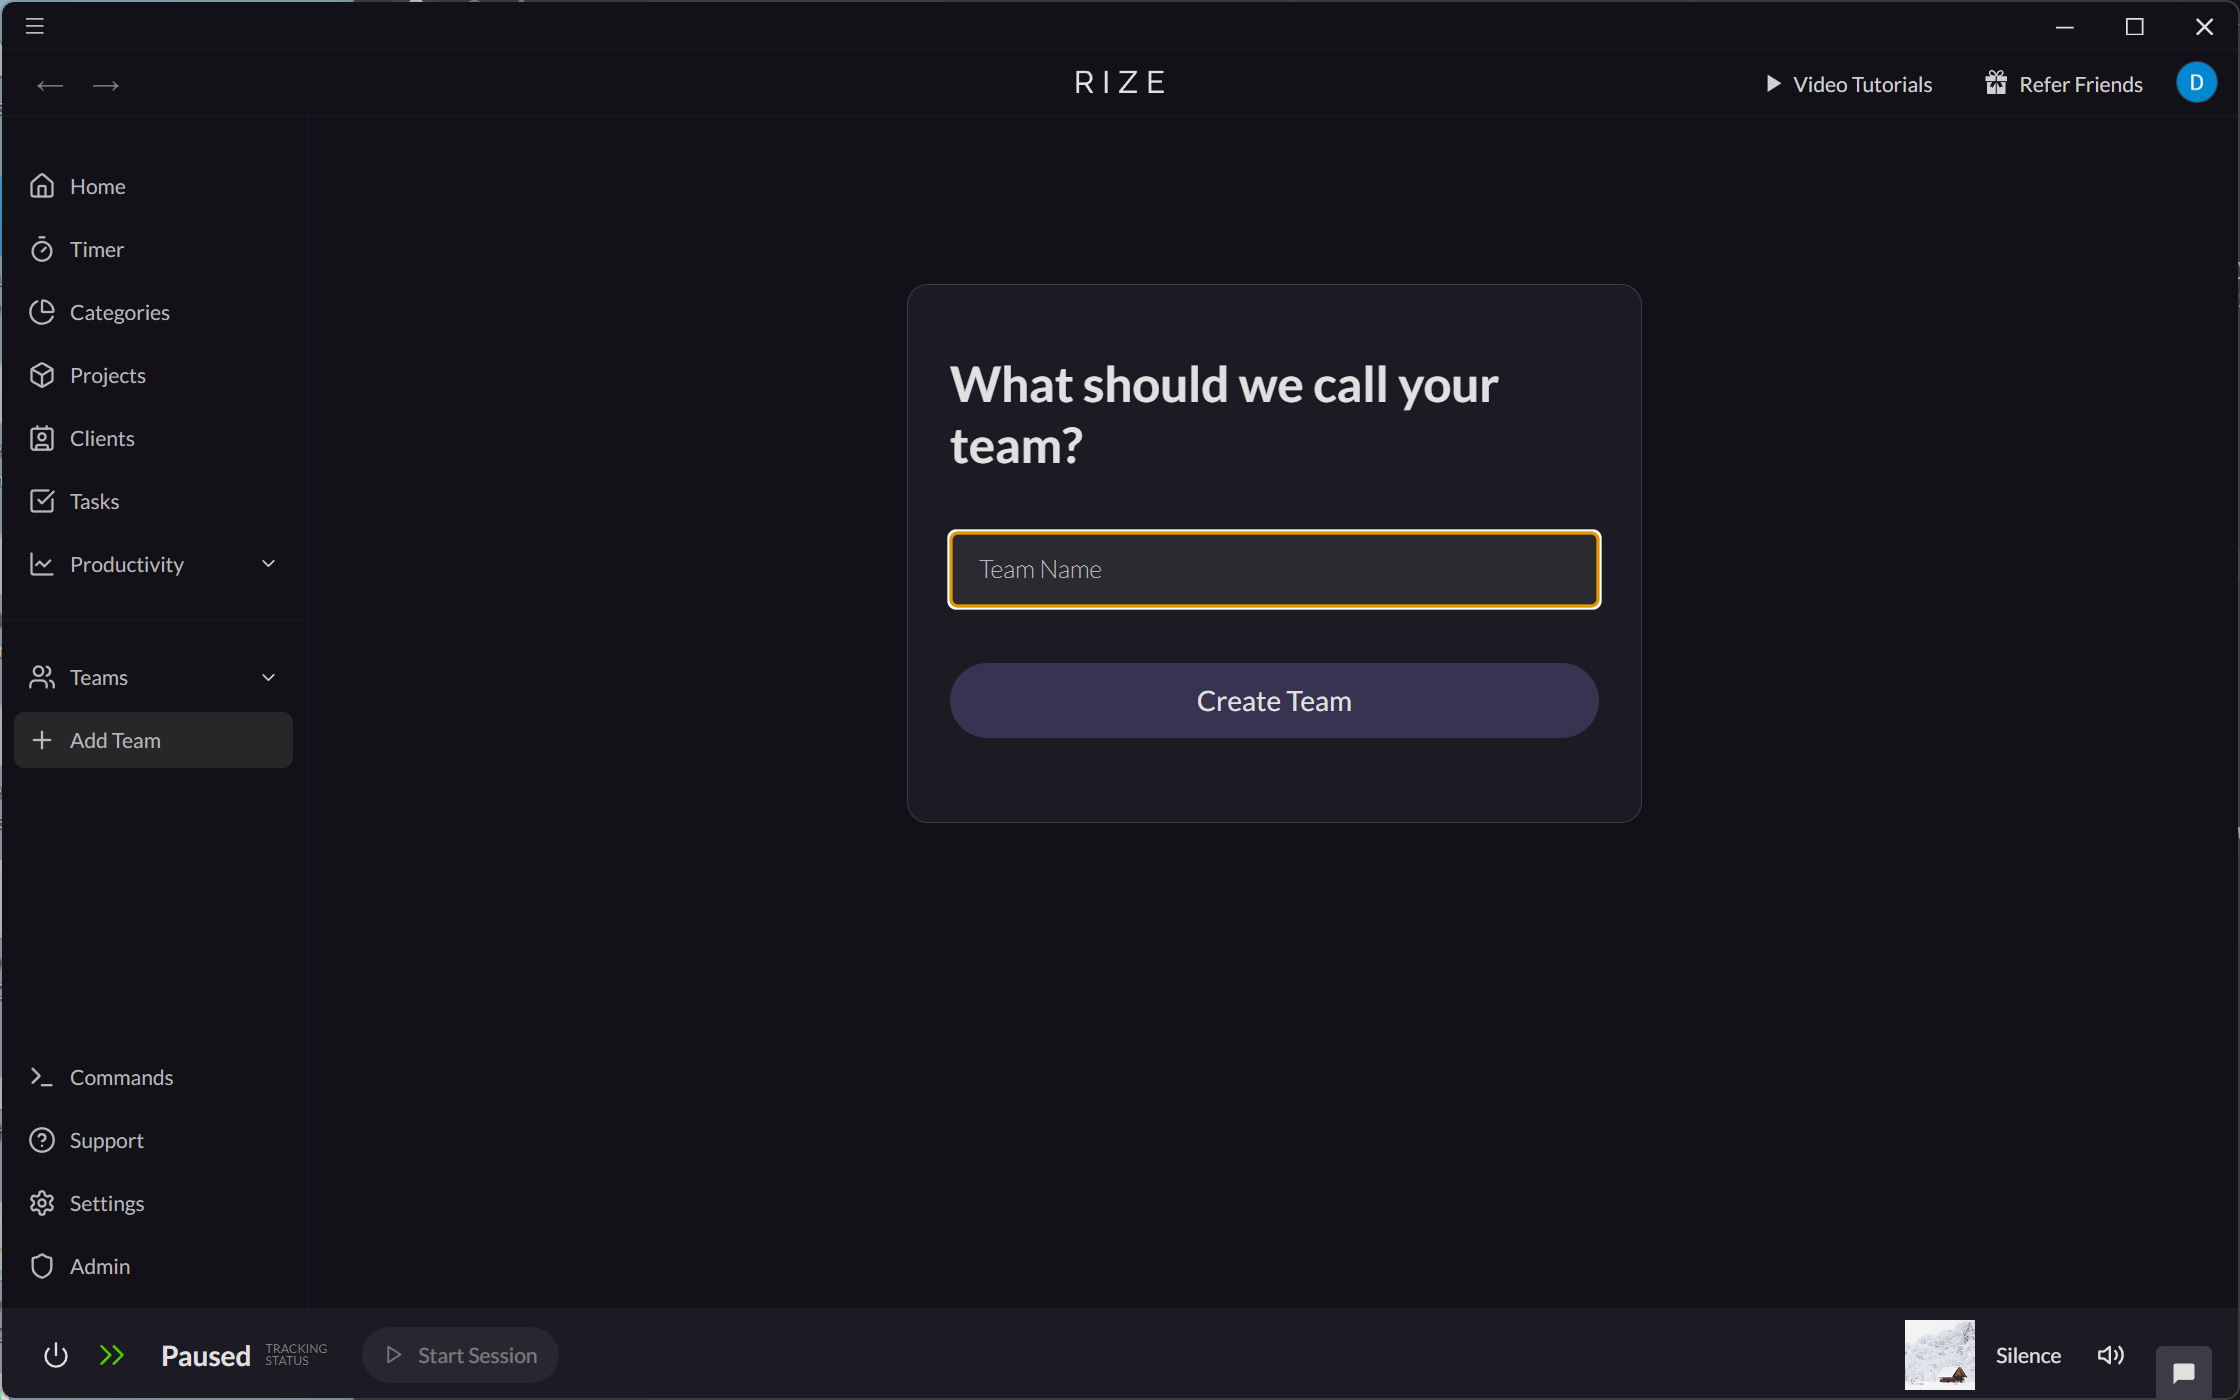
Creating a Team
To create a team, simply click "+Add Team" under the Teams navigation item. Once you set a team name, a new section will be added under the Teams navigation item with your team name, and you will be taken to Teams > [Team Name] > Settings where you can add or manage team members.
You can also create a team through our ClickUp integration. Learn more at Creating a Team from ClickUp.
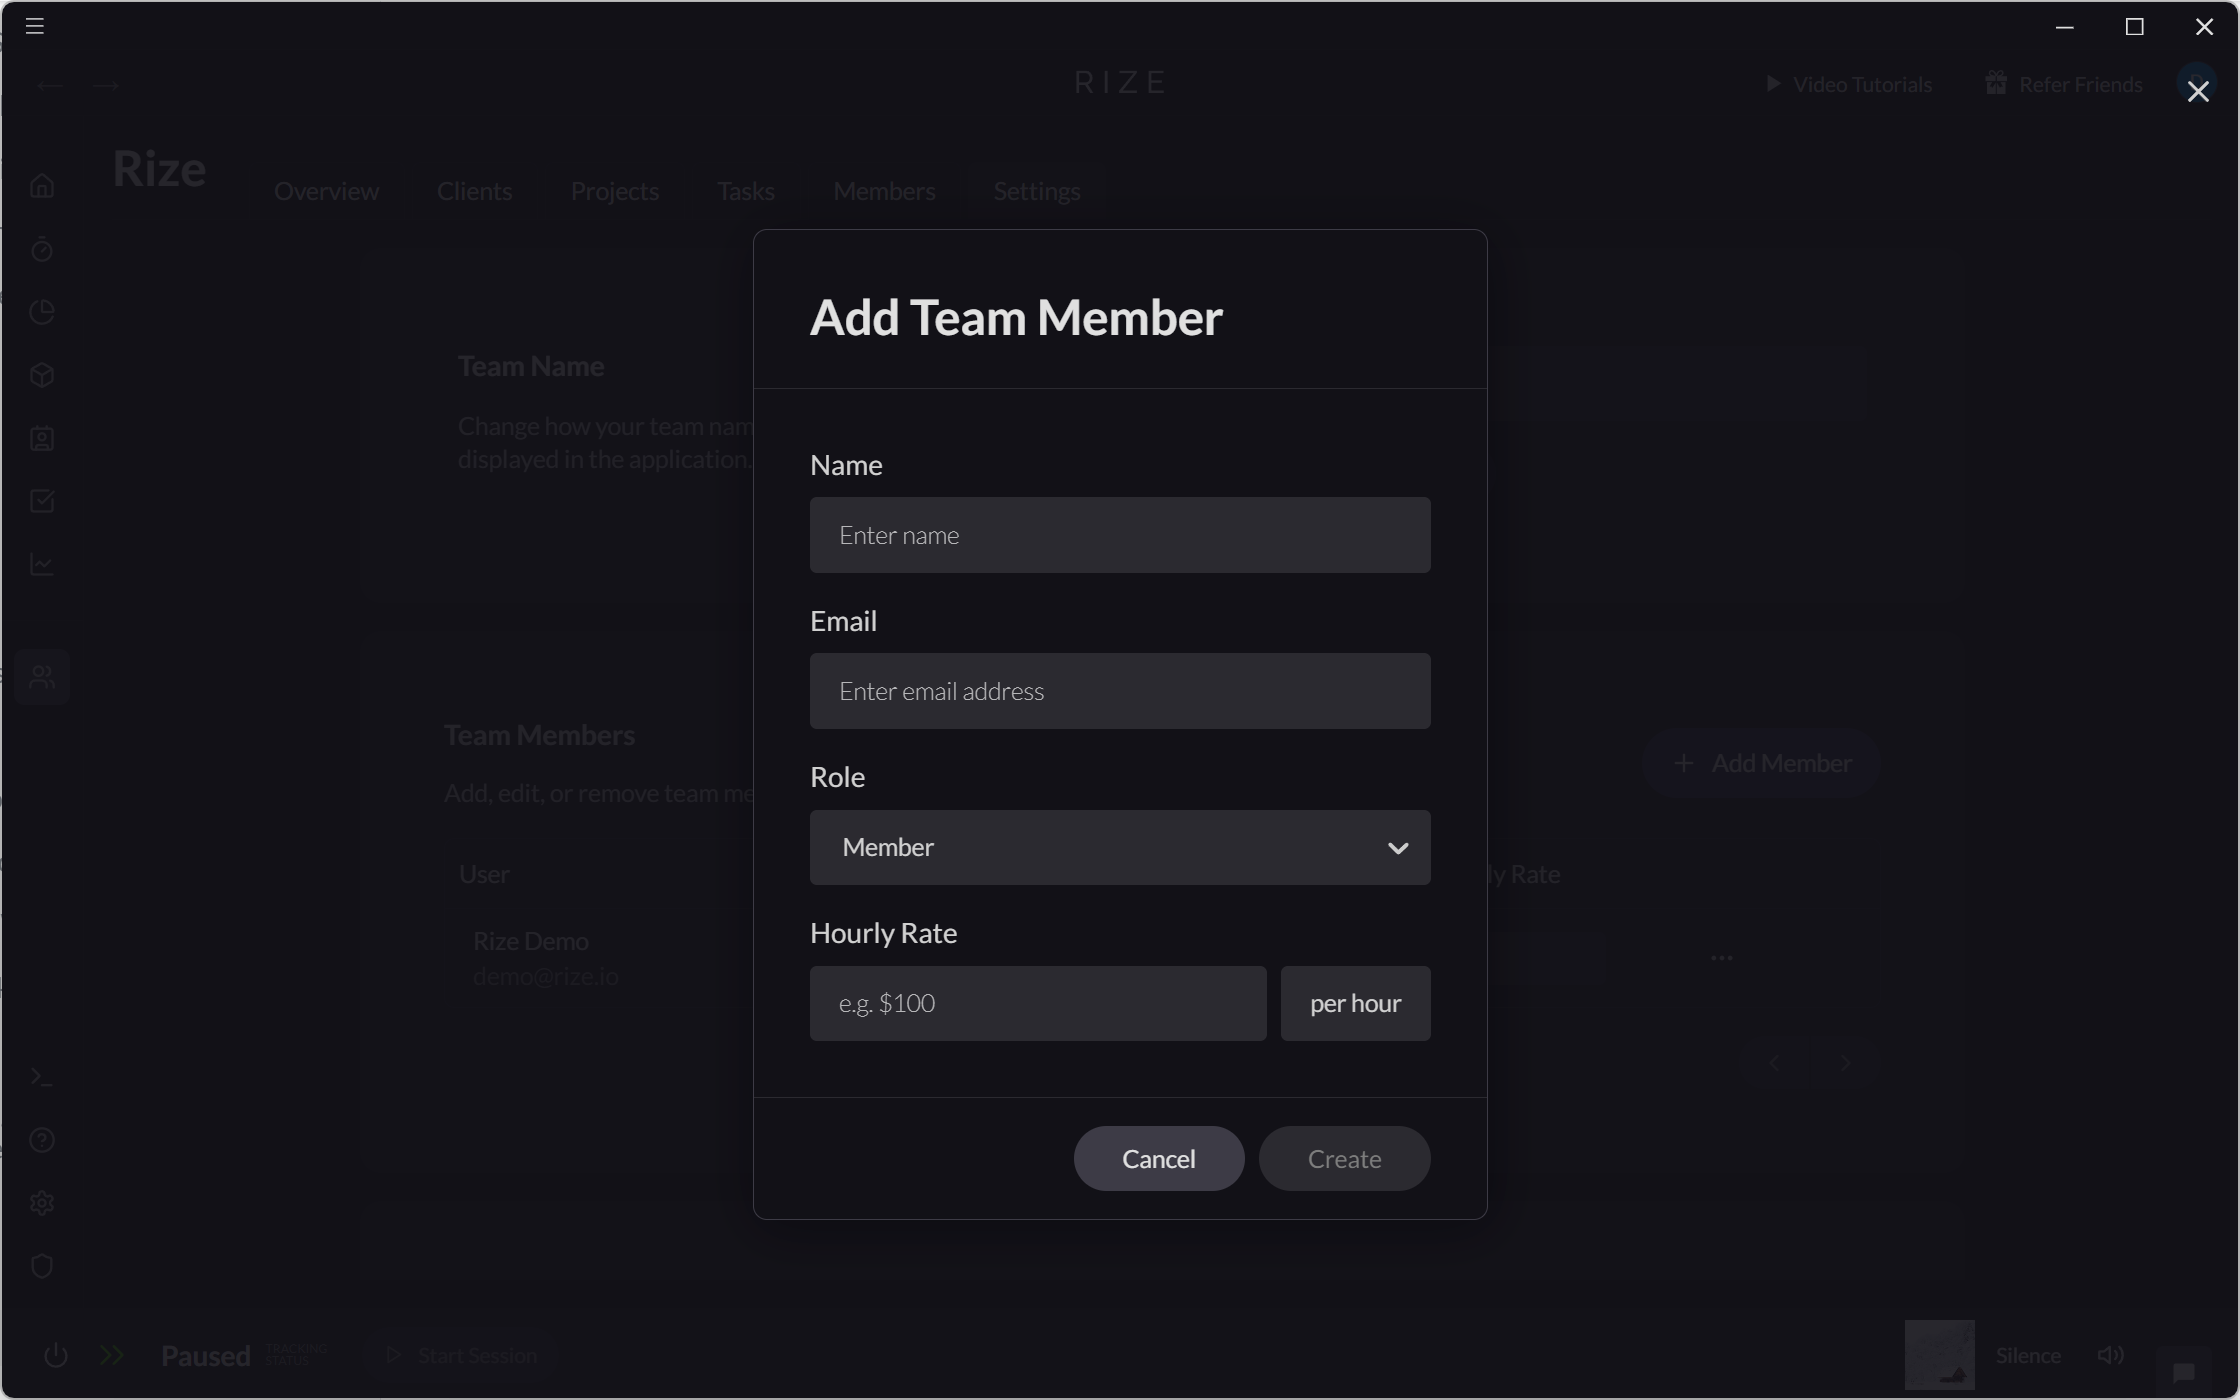
Adding New Team Members
You can invite new members from the Members page by clicking the "New Member" button. As you invite someone, you assign them to a team and set their team role.
Rize will automatically update your subscription for new team members. Any team members that were not a part of your organization will added to your org and will be charged based on a prorated rate.
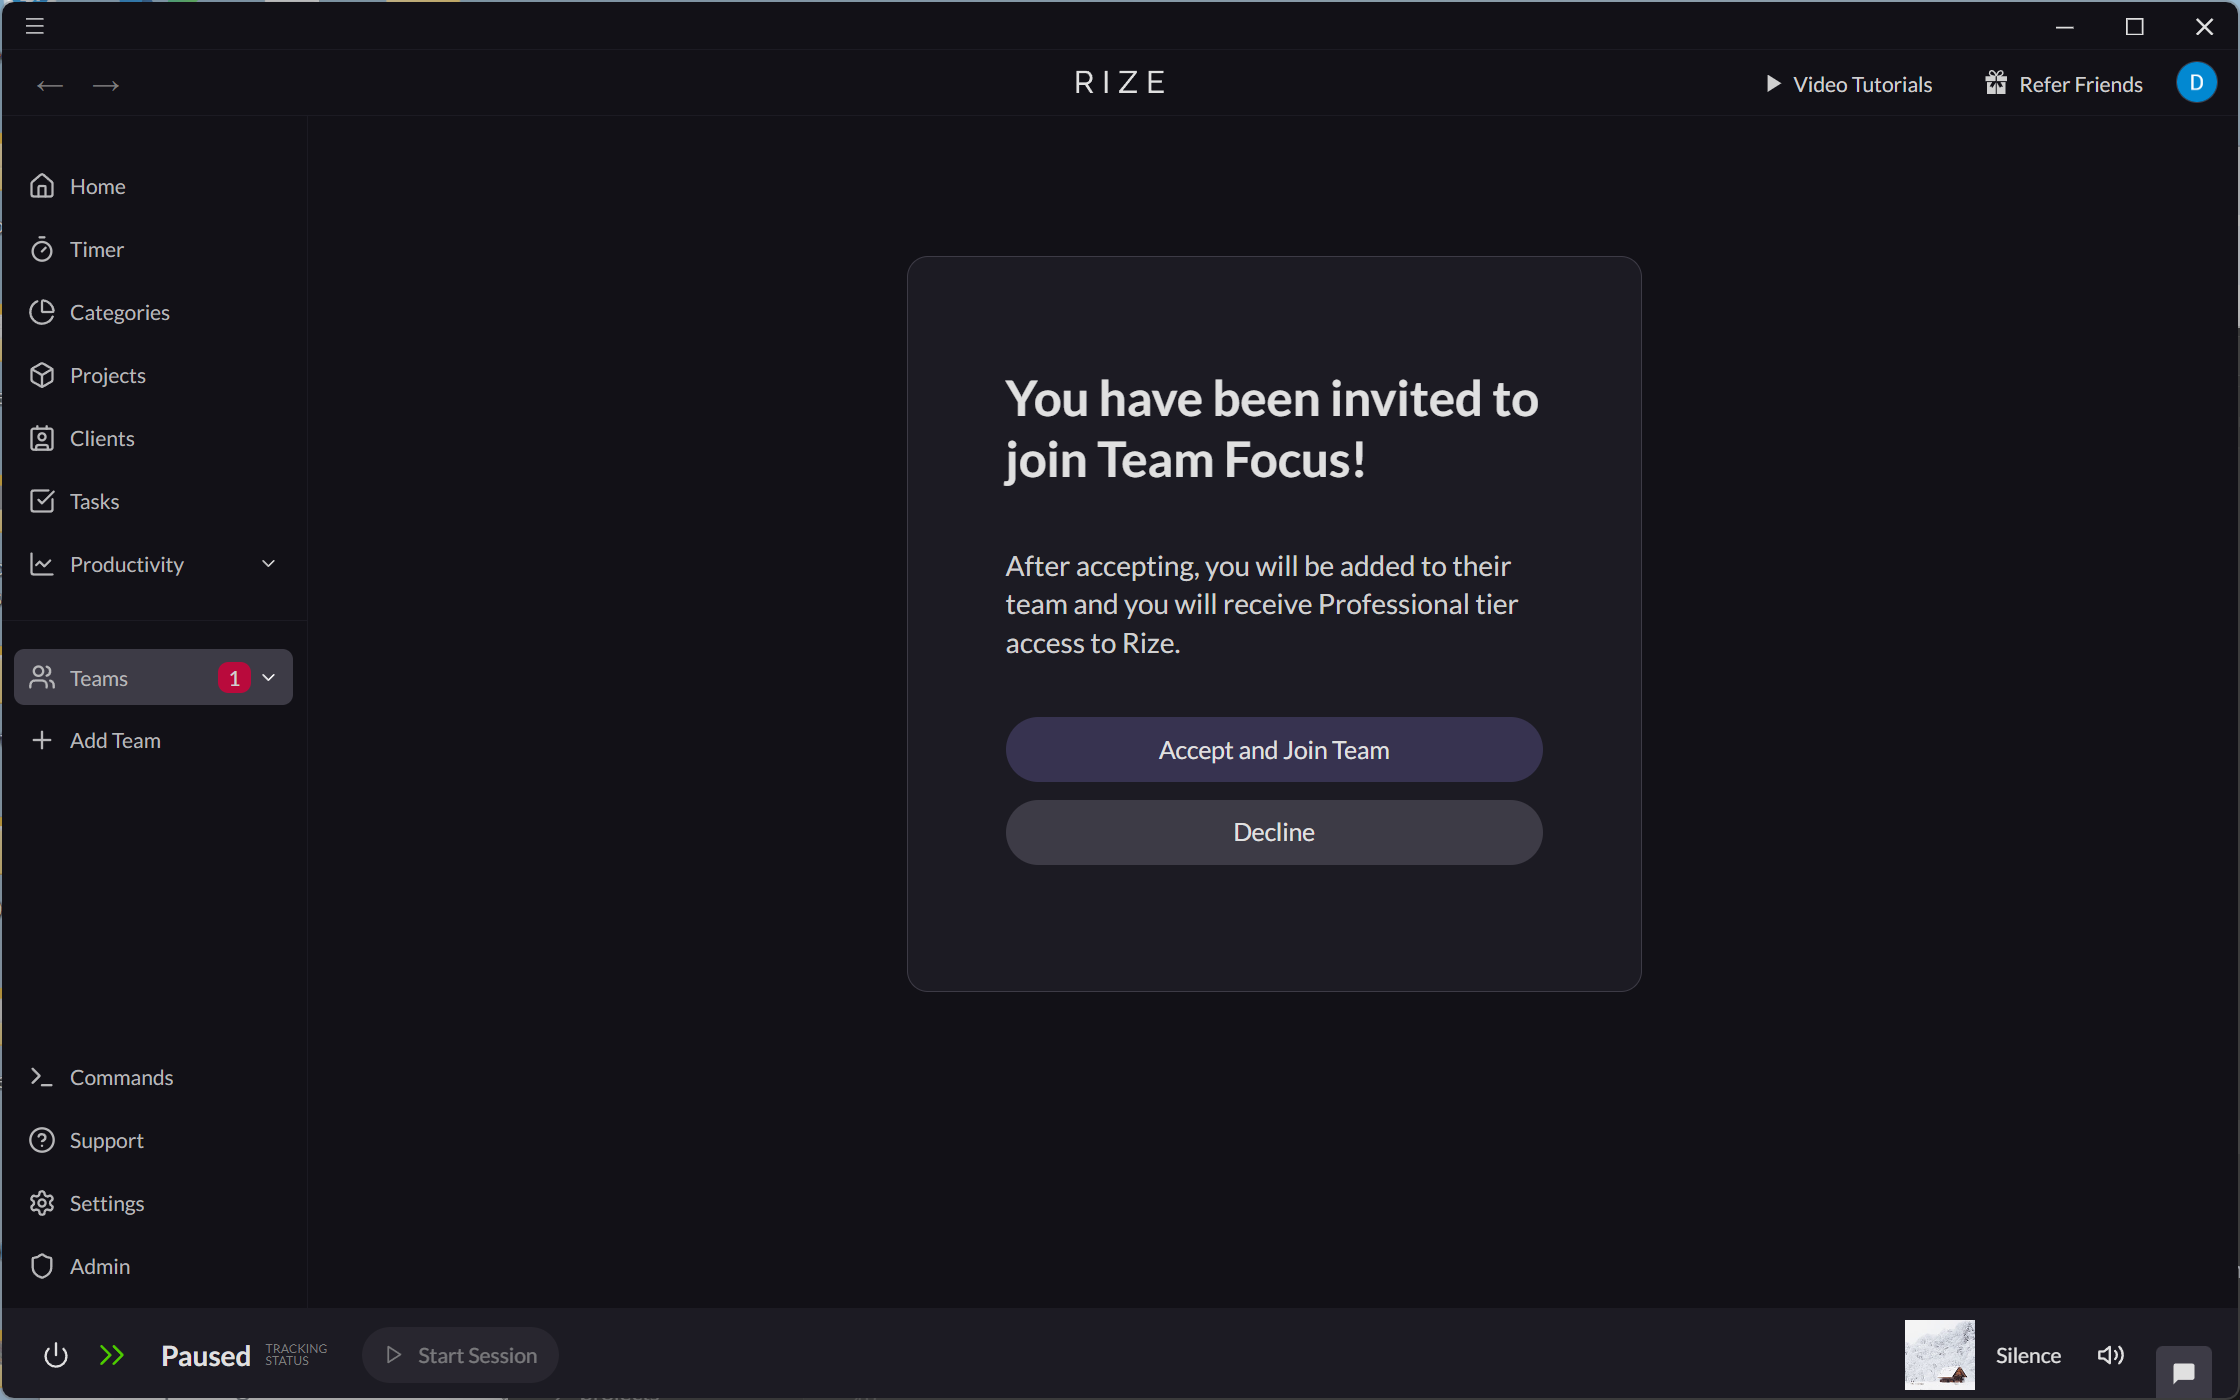
Accepting a Team Invitation
Invited team members will receive a notification email that they have been invited to a team. Invitations can be accepted from the Teams section of the Rize dashboard.
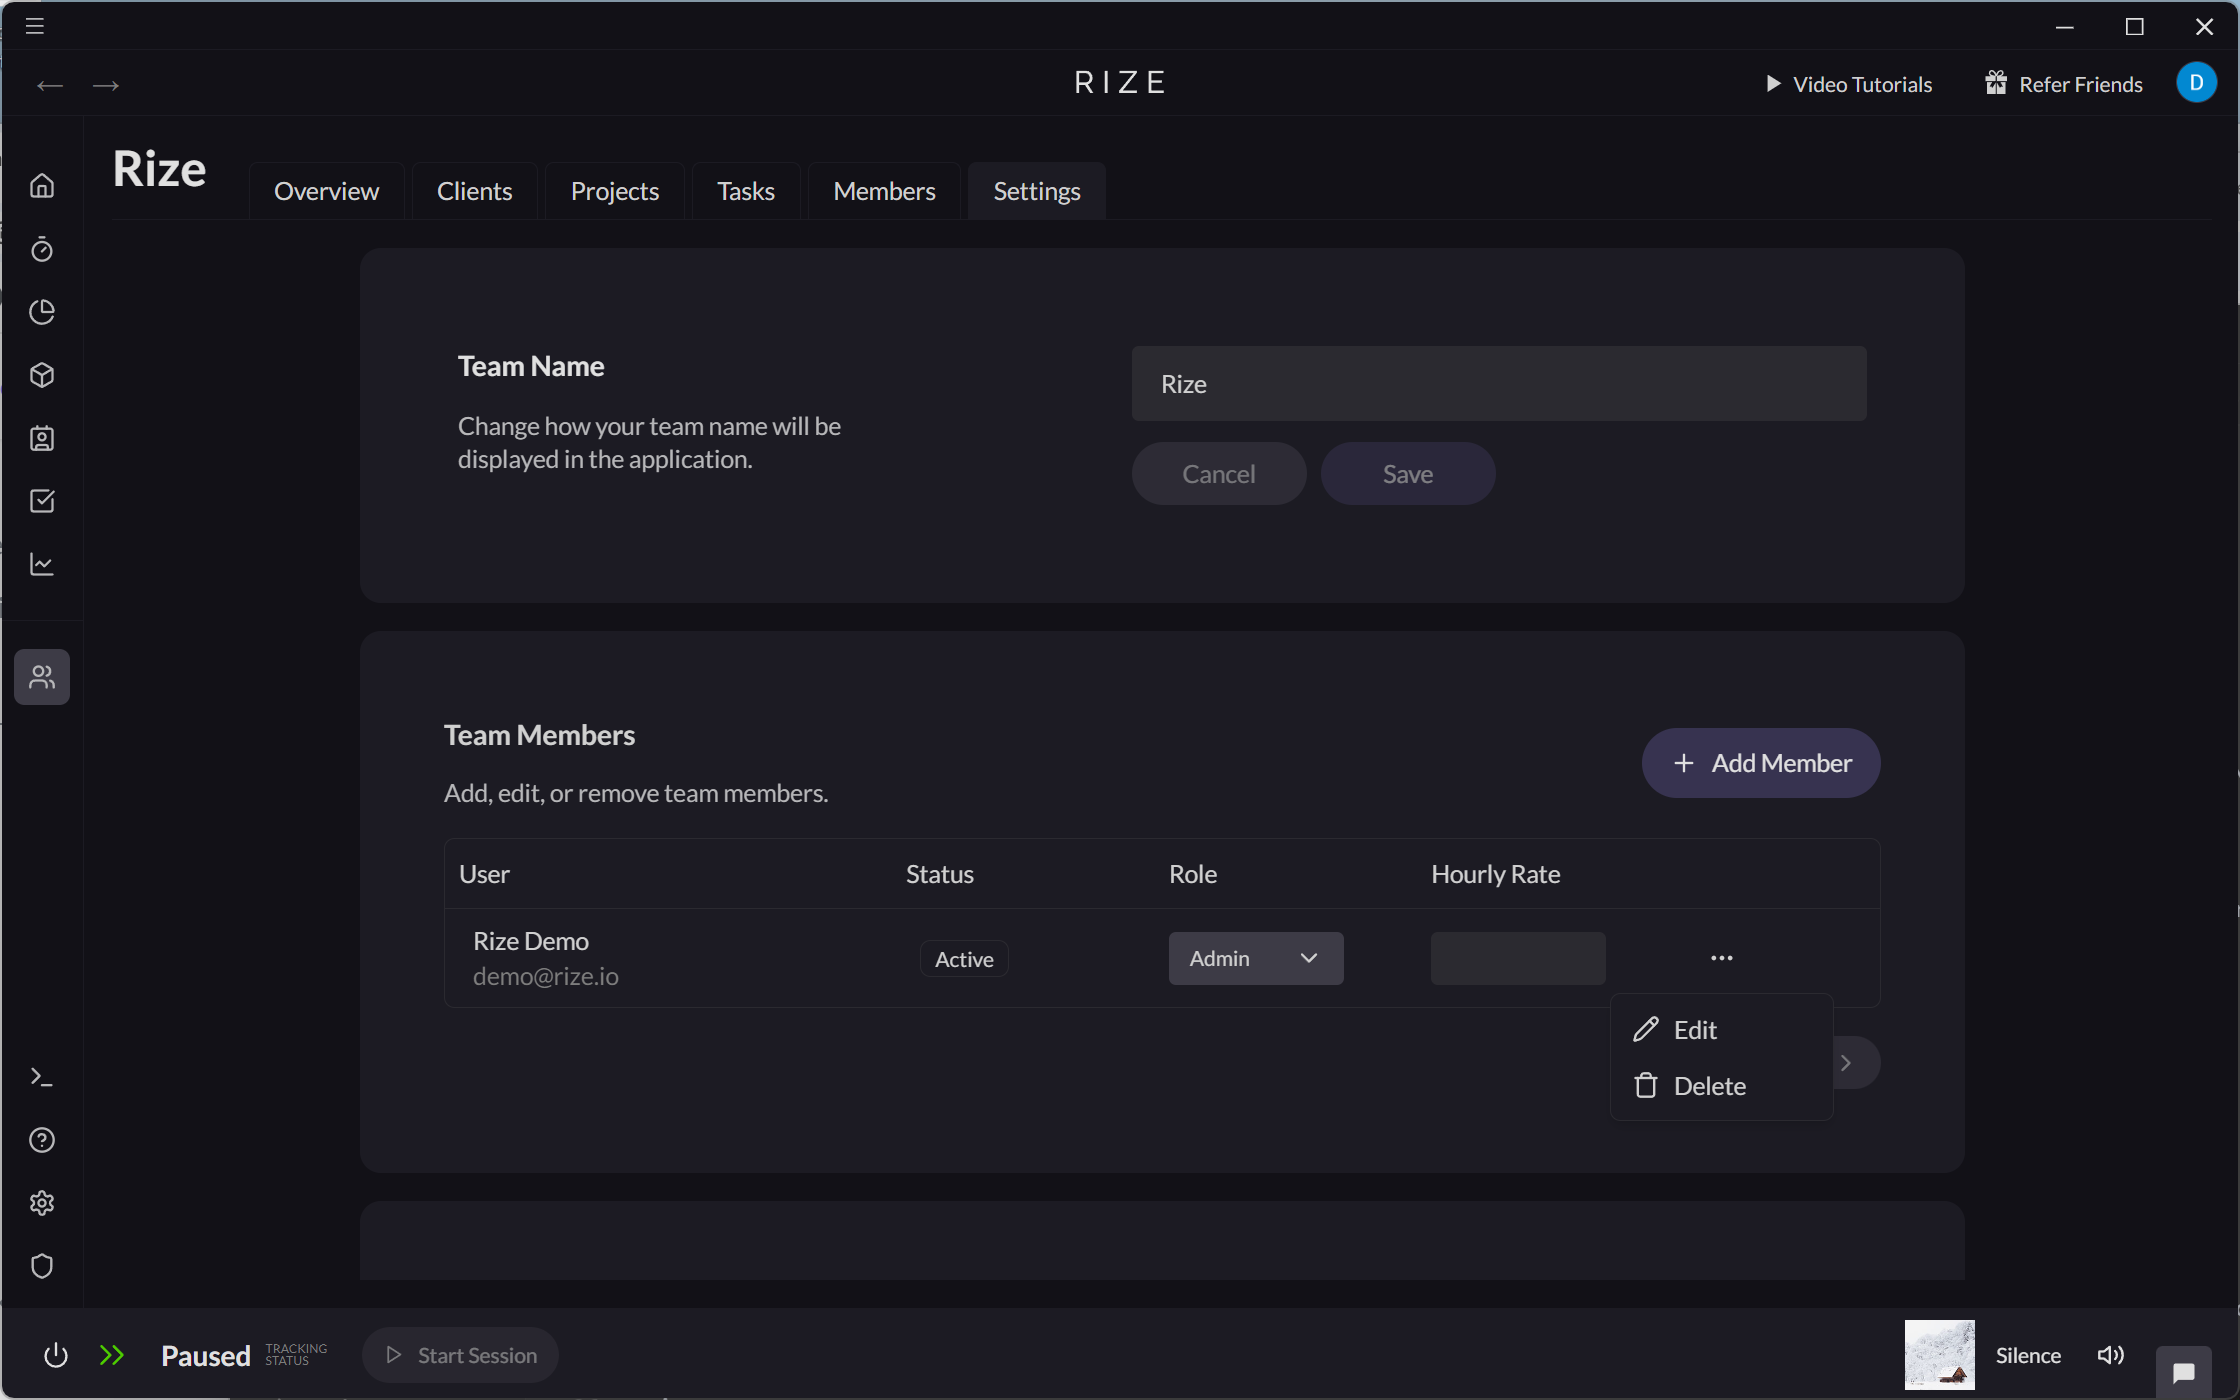
Managing Team Members
All member management happens on the organization Members page — team settings link there, pre-filtered to the team. From a member's edit sheet you can:
- Edit their name, organization role, team roles, manager, title, and rates.
- Grant finance or resourcing permissions.
- Remove them from a team, or deactivate them from the organization (both reversible — history is preserved).
Learn more at Managing Members and Roles and Permissions.
Recommended rollout order
Set the privacy framing first
Before rollout, explain that Rize captures metadata and not screenshots or keystrokes. This matters for team adoption more than almost anything else.
Create the workspace and invite admins
Bring in the people who will own integrations, billing, and reporting before inviting the full team.
Connect task trackers and create shared structure
Set up ClickUp, Linear, or Asana, then create the clients, projects, and tasks the team should tag against.
Launch daily review habits
Encourage team members to review their entries daily so the system learns and the data stays clean.
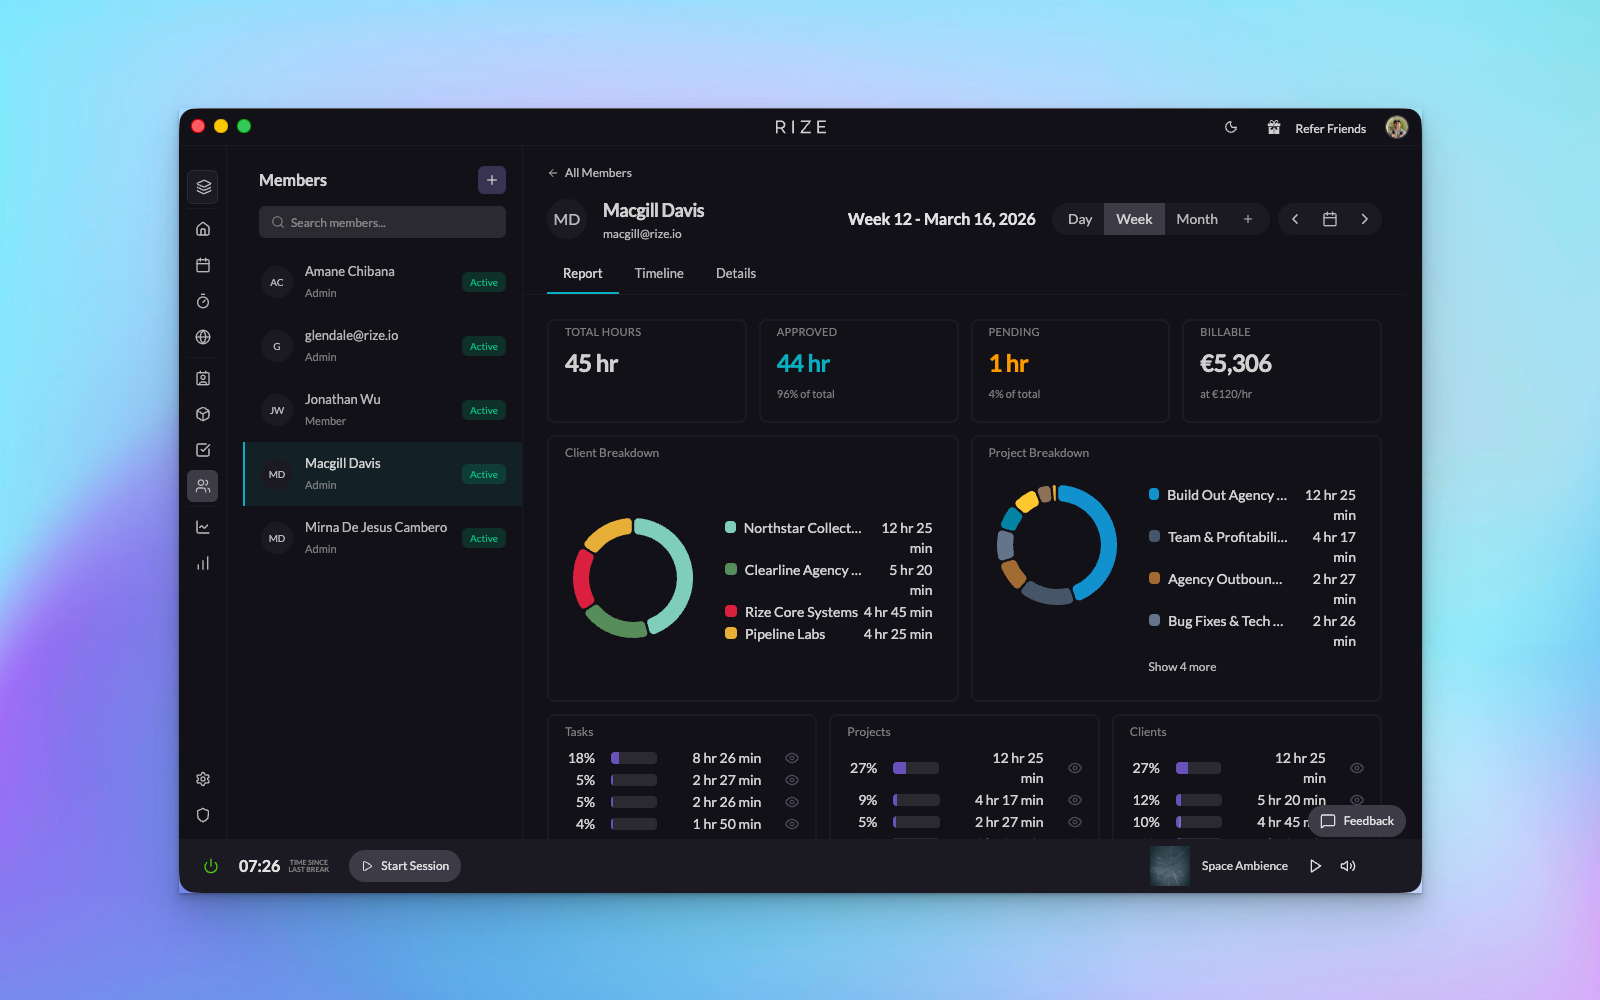
Turn on admin reporting and profitability
Once the team is tagging consistently, use dashboards, budgets, and profitability to manage workload and client health.
What team admins should own
Workspace settings, member roles, integrations, billing model, rates, and the first pass of clients, projects, and tasks.
What team members should do daily
Let Rize track automatically, review what needs attention, correct mistakes quickly, and help the system learn from real work.
Rize is easiest to roll out when you frame it as automated timesheet cleanup and operational visibility, not as a productivity scoring or surveillance tool.